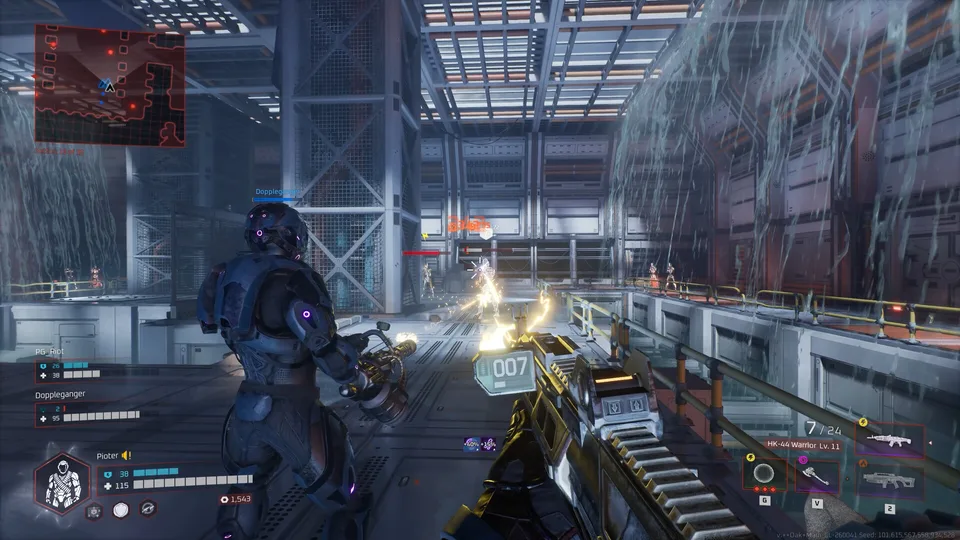
Deadzone Rogue 2: How to Defeat the Destroyer Boss
Master the strategy to take down the Destroyer boss in Deadzone Rogue 2. Learn tips on combat, loadouts, and movement to survive this intense encounter.
Published: Deadzone Rogue 2 Wiki Editorial Team
Video Guide
Deadzone Rogue 2: I Cleared HOMECOMING Mission & Beat The DESTROYER (ALL 30 Sectors)Table of Contents
Preparing for the Destroyer Encounter
The Destroyer is one of the most formidable threats you will face in Deadzone Rogue 2. As you progress through the sectors, this boss acts as a significant gear check, testing both your build composition and your ability to handle high-pressure combat scenarios. Before you even trigger the boss spawn, ensure you have optimized your current run’s loadout.
Based on player experiences, the Destroyer encounter often occurs when you are navigating the transit areas or approaching the Talon hangers. Success hinges on your ability to maintain constant mobility. Since you are playing as Talon 13-10, your suit’s flexibility is your greatest asset. If you are running a solo campaign, you have to be self-reliant; if you are in co-op, coordinate with your squad to divide the boss's attention.
Combat Mechanics and Movement
When fighting the Destroyer, standing still is a death sentence. The boss utilizes heavy weaponry and area-of-effect attacks that can quickly deplete your health if you get caught in the blast zone.
Tip
Always keep an eye on your heat management. Overheating your suit during this fight will leave you vulnerable to the Destroyer’s devastating follow-up attacks.
Focus on "strafing" around the arena. The environment often contains cover, but don't rely on it for too long. The Destroyer’s attacks are designed to flush you out of static positions. Use your dash mechanics to reposition frequently, especially when you see the boss charging its primary cannon.
Optimizing Your Build for the Fight
To bring down the Destroyer, you need a build that balances crowd control with high single-target DPS. Since the fight often includes minor enemy spawns, you cannot focus purely on the boss.
Elemental Synergy: Use ice-augmented weapons to slow down the boss or electric augments to chain damage to surrounding adds.
Neural Lattice Upgrades: Prioritize imprints that boost your movement speed or shield regeneration.
Weapon Choice: Ensure you have at least one long-range weapon to chip away at the boss while maneuvering.
Many players find success by combining fire-based augments to create "burn" damage, which allows you to deal damage over time while you focus on dodging incoming projectiles. If you are playing with friends, have one player focus on clearing the smaller robots while the others lay into the Destroyer’s weak points.
Managing the Chaos of the Sector
The Destroyer encounter is rarely just a one-on-one duel. You will likely be fighting alongside a swarm of Monarch’s machines. If you find yourself overwhelmed, don't be afraid to retreat to a different part of the map to create space.
According to community reports, the Destroyer’s AI can be unpredictable. It will often attempt to "hacker" your position or force you into a corner. If you notice your HUD flickering or your movement speed slowing, it is a sign that the boss is deploying a hack-based attack. Keep moving to break the tether or connection.
Next Steps After Victory
Defeating the Destroyer is a major milestone in your run. Once the boss is down, you will likely gain access to high-tier loot or important narrative progression items. Always check the immediate area for supply drops before moving to the next objective.
If you are struggling to consistently beat the boss, consider heading back to the official Deadzone Rogue 2 Steam page to review the latest patch notes or community discussions. The developer, Prophecy Games, frequently updates mechanics, and reading the experiences of other players in the community hub can provide new tactical insights for your specific build.
Can I fight the Destroyer in the demo?
The demo, Deadzone Rogue 2 Demo (AppID 4541470), provides a specific slice of the gameplay. Always check the current demo version's patch notes to see if boss encounters are included, as demo content is distinct from the full release.
Does the boss difficulty scale?
Yes, the encounter scales depending on your difficulty setting, ranging from casual to nightmare. Adjusting the difficulty in the settings menu is the best way to practice the fight mechanics.